How To Print Out Different Colors On Cricut
Remove the parts of the design so it leaves only the pieces you need for each color. First select the design you want to use then turn the linetype to Draw and last but not least change the color of the pen you want to use on the little square next to linetype.

How To Add A Solid Line In Cricut Design Space Thin And Thick Cricut Design Cricut Tutorials Design
Place the White Cardstock on a Light Grip Mat and load it into the Cricut and press the Cut button.

How to print out different colors on cricut. Do this for each separate color. Do this by holding shift and clicking the parts you want to group. The first tip for cutting multi-color designs in Cricut Design Space is if there is a piece that you want to move to a different color.
A color box will slide out and you can pick your new color. Today Im cutting out multiple colors of Iron On from ImPRESSED Vinyl. You can change the color of each section manually by clicking the colored circle and choosing a new color.
Click that and you are given the option to move that piece to another mat. Grab your next color of cut vinyl and line up the first squares and press down so it sticks. Single Layered Designs If you have a single layered design that youd like to cut out in multiple colors you can use the Cricut contour tool to separate the design into different colors which is what I did for this project.
1- Open Cricut Design Space. To change the colors if using Cricut Pens. Im in love with these Cricut Glitter Pens so sparkly and fun.
I recently wrote about how to use the contour tool and today Im over on Cricuts blog talking about a fun way to use this particular tool separating the different parts of a single image to draw in several colors. It will start by using all the pen colors. Click on the upload image icon on the left toolbar.
Once you cut all the different stripes of color. Click the piece and you will see a button with three dots appear. Oh and happy spring.
Just click the mat you want to move it to and click Confirm. Highlight all of the pieces for color 1 and click the attach button. Hop on over and check it out.
Now youll need to attach all parts of the design that are the same color. Then click attach in the bottom right. Select the material then Design Space will tell you which Cricut Pen Color to load.
Stick them to the mat then load it to the Cricut choose your materials on Cricut Design Space or Smart Set Dial Explore Family Machine and press the make it button. Then on the right-hand panel double-click on one of the elements you want to change colors. 2- In the next screen click on upload image.
Then line up your second set of squares and stick them together. In the mobile app tap the Layers tool at the bottom of the screen then tap the arrow next to your image in the Layers panel to access the color options. Find the updated svg fileimage on my blog.
Because the printer doesnt print with white ink the shape will not print in color but your machine will cut around the shape. To change the color of the word sunshine click on the word right-click and choose attach. When it is finished with one it will ask you to load the other color then press the Cut button again.
3- Your uploaded image will appear onscreen. Do the same for color 2 pieces. Remove material from the mat.
After your squares are lined up and stuck flip your decal over and remove the rest of the transfer paper backing. If you send the design to your cutter now the program will arrange the elements like this on the mat. If you are using just one color on your project you can leave the default color.
This will tell the Maker to cut all of your pieces for color 1 on the same piece of vinyl and all of color 2 on the 2nd piece of vinyl. Smooth down the rest of your 2nd vinyl color onto the transfer paper. As you can see there are multiple images on this design but we only need a couple of the images so we need to.

Outline Words In Cricut Design Space Cricut Tutorials Cricut Design Cricut Projects Beginner
Complete Guide On How To Use And Change Colors In Cricut Design Space Cricut Design Cricut Design

Pin On Cricut

Learn How To Screen Print Multiple Color Designs On T Shirts Using Your Vinyl Cutter A Screen Printing Multiple Colors Silk Screen Printing Diy Screen Printing

Post Your Rgb Codes Here Imagine Machine 2000562 Cricut Forums Ctmh Close To My Heart Scrapbooking Techniques

Pin On Cricut Tutorials

How To Create Multiple Layers Multiple Colors Cricut Design Space Youtube Cricut Design Cricut Tutorials Cricut

Wie Erstelle Ich Ein Mehrfarbiges Htv T Shirt Im Cricut Design Space Cricut Cricutdesign Craft Room Ideas Crafts Cricut Heat Transfer Vinyl Cricut Iron On Vinyl Cricut Projects Beginner

Cricut Imagine Rgb Codes Scrapbooking Cricut Color Scale Cricut

How To Make A Multi Color Layered Vinyl Monogram Layered Vinyl Vinyl Monogram Monogram Vinyl Decal

How To Line Up Screen Printing For Multiple Color Designs Screen Printing Designs Silk Screen Printing Diy Screen Printing Multiple Colors

Pin On Everything Cricut

How To Upload And Edit A Svg File In Cricut Design Space Cricut Tutorials How To Use Cricut Cricut Expression

How To Screen Print 2 Color Designs With The Cricut Maker Diy Screen Printing Screen Printing Multiple Colors Silk Screen Printing Diy

Pin On Die Cuts And Electronic Cutting Machines

289 How To Screen Print Multiple Colors With Cricut Youtube Screen Printing Multiple Colors Diy Screen Printing Screen Printing Ink
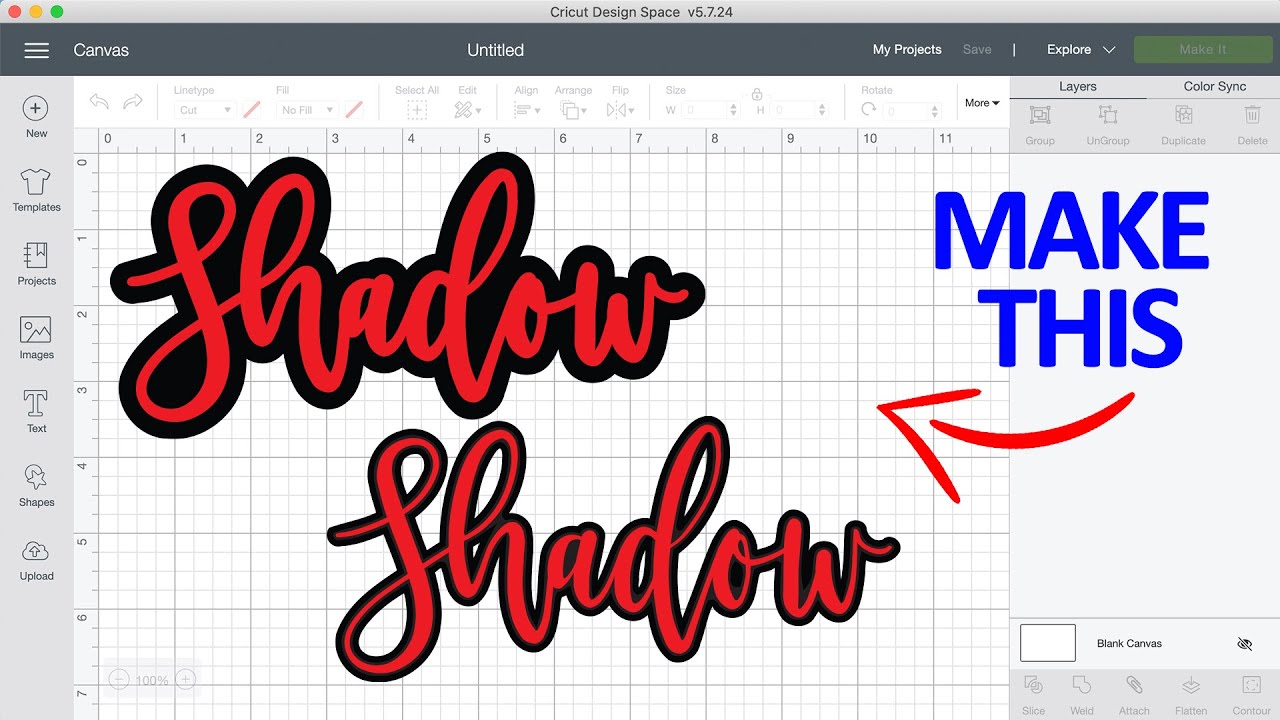
How To Create A Shadow Outline Around Text In Cricut Design Space Cricut Design Studio Cricut Design Cricut Tutorials

How To Change The Canvas Color In Cricut Design Space Cricut Design Cricut Design

How To Layer A Multi Color Baseball Vinyl Decal For A Car Window Baseball Vinyl Decal Cricut Crafts Layered Vinyl